Introduction
Windows 11 brings a new and exciting interface that many PC enthusiasts are eager to explore. However, not all can easily upgrade due to Microsoft’s strict hardware restrictions. Despite these limitations, you can still install Windows 11 on unsupported PCs by following the correct steps. This article guides you through the process, balancing the desire to upgrade with a keen understanding of potential risks. If you’re ready to proceed, let’s dive into the reasons behind these hardware constraints and the actions you should take before starting the installation.
Understanding the Limitations of Unsupported PCs
Before moving forward, it’s critical to understand what makes certain PCs incompatible with Windows 11. This insight can help you weigh the pros and cons of installing the OS against Microsoft’s advised parameters.
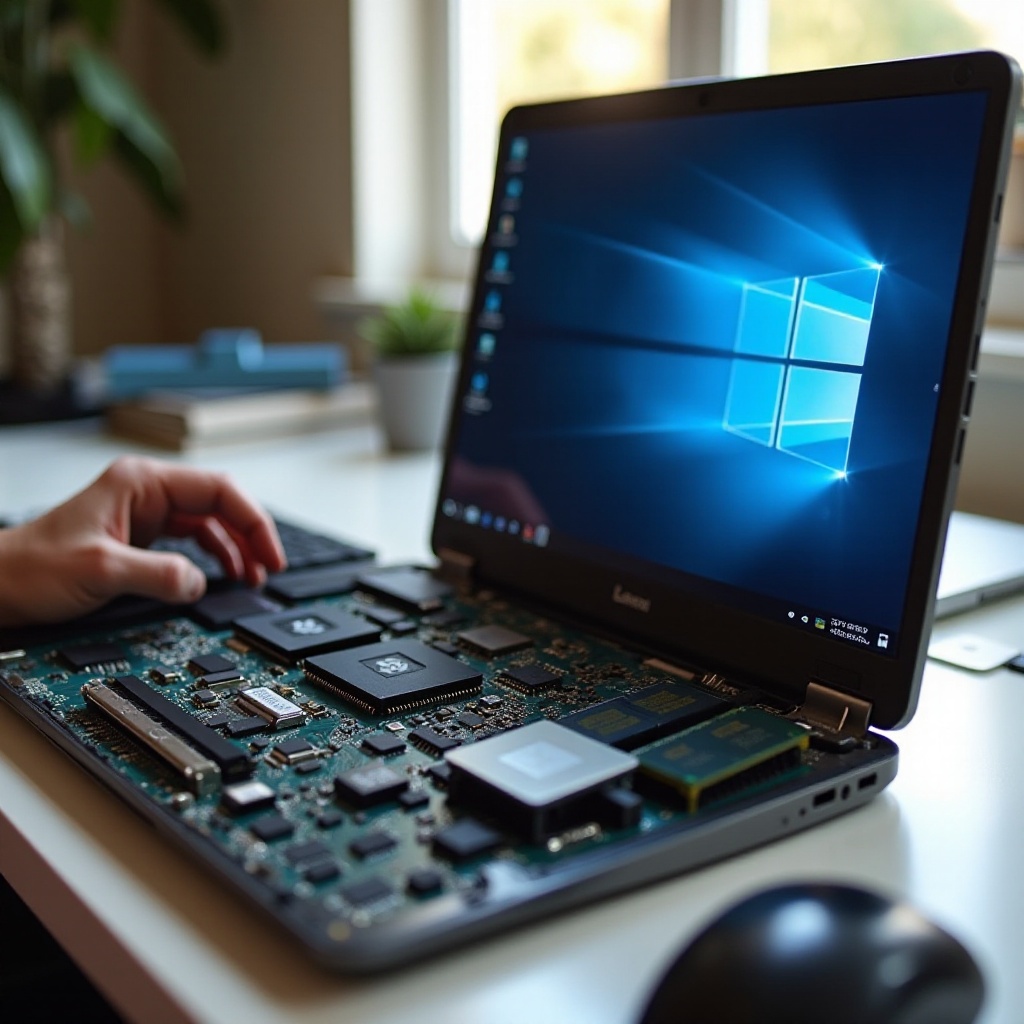
Hardware Requirements of Windows 11
To maintain high performance, Windows 11 has specific hardware prerequisites. These include:
- A 64-bit processor running at 1 GHz or faster with at least 2 cores.
- 4 GB RAM minimum.
- 64 GB or larger storage device.
- Trusted Platform Module (TPM) version 2.0.
- Secure Boot capable firmware.
These demands surpass those of Windows 10, often leaving users of older hardware ineligible.
Common Reasons for Incompatibility
Key elements include a lack of TPM 2.0 or Secure Boot, alongside CPUs that aren’t part of Microsoft’s support list. Awareness of these gaps is crucial if you aim to circumvent these limitations.
Preparing Your System for Installation
A thorough understanding of your PC’s limitations paves the way for proper preparation. This section emphasizes the importance of data protection and compatibility assessment before installation.
Backing Up Important Data
Data loss is a real possibility during system changes, making backups essential:
- Utilize services like OneDrive for cloud storage.
- Store essential documents on external drives or USBs.
- A complete system image backup offers comprehensive data safety.
Proper backups mean you can begin installation with confidence.
Checking Compatibility with Third-Party Tools
Several tools provide valuable insights into your system’s compatibility:
- WhyNotWin11: Identifies specific hardware discrepancies.
- Windows PC Health Check: Offers sporadic official compatibility advice.
These evaluations inform your next steps in the installation process.
Methods to Install Windows 11
Equipped with preparedness, explore various installation approaches. Understanding each method aids in selecting the best pathway for your circumstances.
Modifying the Registry to Bypass TPM
For technically adept users, registry adjustments can bypass TMP constraints:
- Open “Regedit” via the Run dialog (Win + R).
- Navigate to
HKEY_LOCAL_MACHINE\SYSTEM\Setup\MoSetup. - Create a DWORD (32-bit) Value named
AllowUpgradesWithUnsupportedTPMOrCPU. - Set its value to 1 and close the editor.
This technique allows Windows Setup to overlook incompatible hardware.
Using a Third-Party Installation Tool
Tools like Universal MediaCreationTool simplify the process:
- Download and execute the tool with administrative rights.
- Choose the Windows 11 setup path and proceed with directions.
This solution circumvents various compatibility checks efficiently.
Performing a Clean Installation with Bootable Media
Opt for a clean slate with a fresh system installation:
- Create a bootable drive using the Windows 11 ISO.
- Initiate boot from USB and start the installation.
- Complete the setup via on-screen prompts.
This method is perfect for users desiring a fresh OS environment.
Post-Installation Configuration
With Windows 11 installed, optimizing your system is essential to maximize performance.
Initial Setup and Customization
On first boot following installation:
- Set preferred regional, language, and account options.
- Adjust privacy settings to control data sharing levels.
Initial setup choices enhance personalization and security right from the start.
Installing Necessary Drivers and Updates
Ensure your PC remains stable and secure post-installation:
- Download latest drivers from your manufacturer’s site.
- Use Windows Update for critical security improvements and new features.
Properly updating systems minimizes risks of operating on unsupported hardware.
Potential Risks and Considerations
Installing Windows 11 on noncompliant systems carries certain risks that must be acknowledged.
System Instability and Security Risks
- System Instability: Unsupported hardware might suffer from frequent crashes or lowered performance.
- Security Risks: Absence of TPM and Secure Boot increases vulnerability to threats.
Lack of Official Support from Microsoft
Lack of official updates or support from Microsoft can leave your system exposed.
Conclusion
While it’s possible to install Windows 11 on unsupported PCs, it comes with trade-offs involving potential instability and security concerns. Careful preparation, informed choice of installation method, and thorough post-installation measures can mitigate these issues. Always back up your data before starting to ensure you have recovery options should complications arise.
Frequently Asked Questions
Is it safe to install Windows 11 on an unsupported PC?
It involves risks such as instability and lack of security updates. Proceed cautiously.
Will I receive updates if my PC is unsupported?
Unsupported PCs may miss out on both feature updates and essential security patches from Microsoft.
Can I revert back to my previous operating system after upgrading?
Yes, within 10 days of installation, you can revert to Windows 10 through settings. After this period, a full reinstallation of the older OS is required.