Introduction
The Nest Doorbell is an excellent choice for enhancing the security and convenience of your home. Installing a battery-powered Nest Doorbell does not have to be a daunting task. This guide will walk you through the process, ensuring that you integrate your Nest Doorbell seamlessly into your smart home setup. Get ready to experience peace of mind with enhanced safety features.
Preparing for Installation
A little preparation can make the installation process smooth and hassle-free. It’ll also help you avoid any unnecessary trips to the store.
Tools and Materials Needed
Here are the essential tools and materials you’ll need:
– Phillips screwdriver
– Nest Doorbell kit
– Drill (if you need to mount)
– Your smartphone
Checking Compatibility with Your Current Setup
Before you begin, check if your home setup can accommodate the Nest Doorbell:
– Ensure a strong Wi-Fi signal near the doorbell’s location.
– Verify that the mounting location is suitable for both security and Wi-Fi coverage.
Once you’ve gathered your tools and confirmed compatibility, you’re ready to proceed.
Step-by-Step Installation Guide
With preparation complete, it’s time to install your Nest Doorbell. Follow these steps for a straightforward installation.
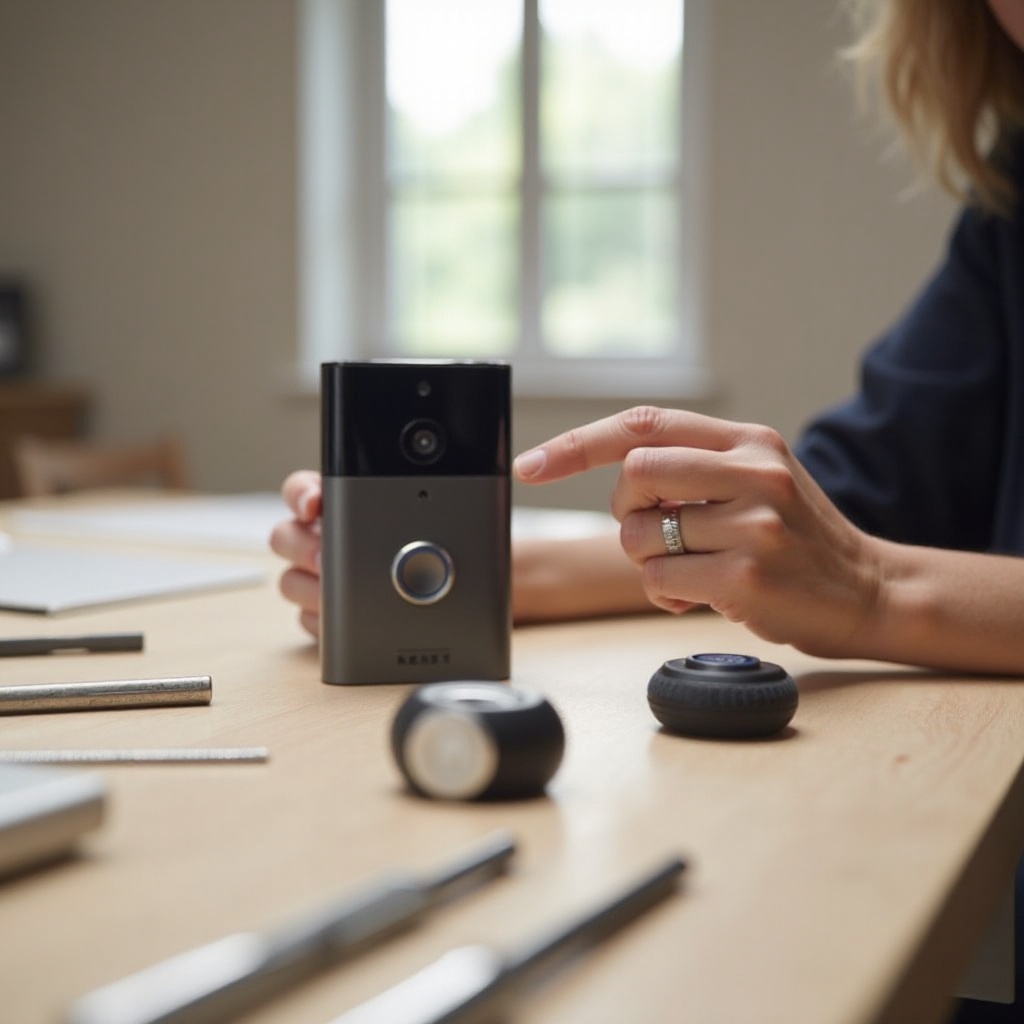
Unboxing and Understanding the Components
- Carefully open the doorbell box and lay out all components.
- Familiarize yourself with each piece, including the doorbell, battery, mounting plate, and screws.
Choosing the Optimal Location for Your Doorbell
- Pick a spot near your door where the field of view is optimal.
- Check that the location is within reach of your Wi-Fi network.
- Ensure it aligns with other home security components if you use them.
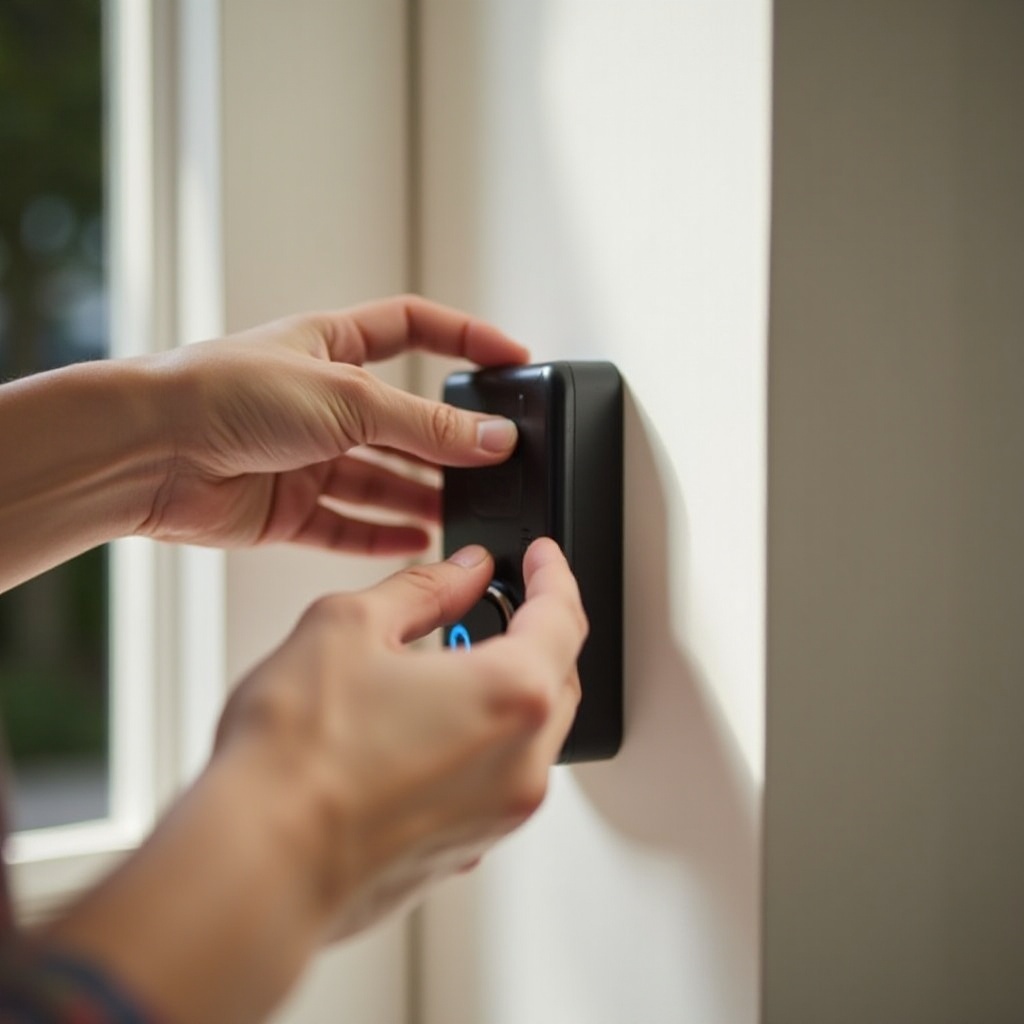
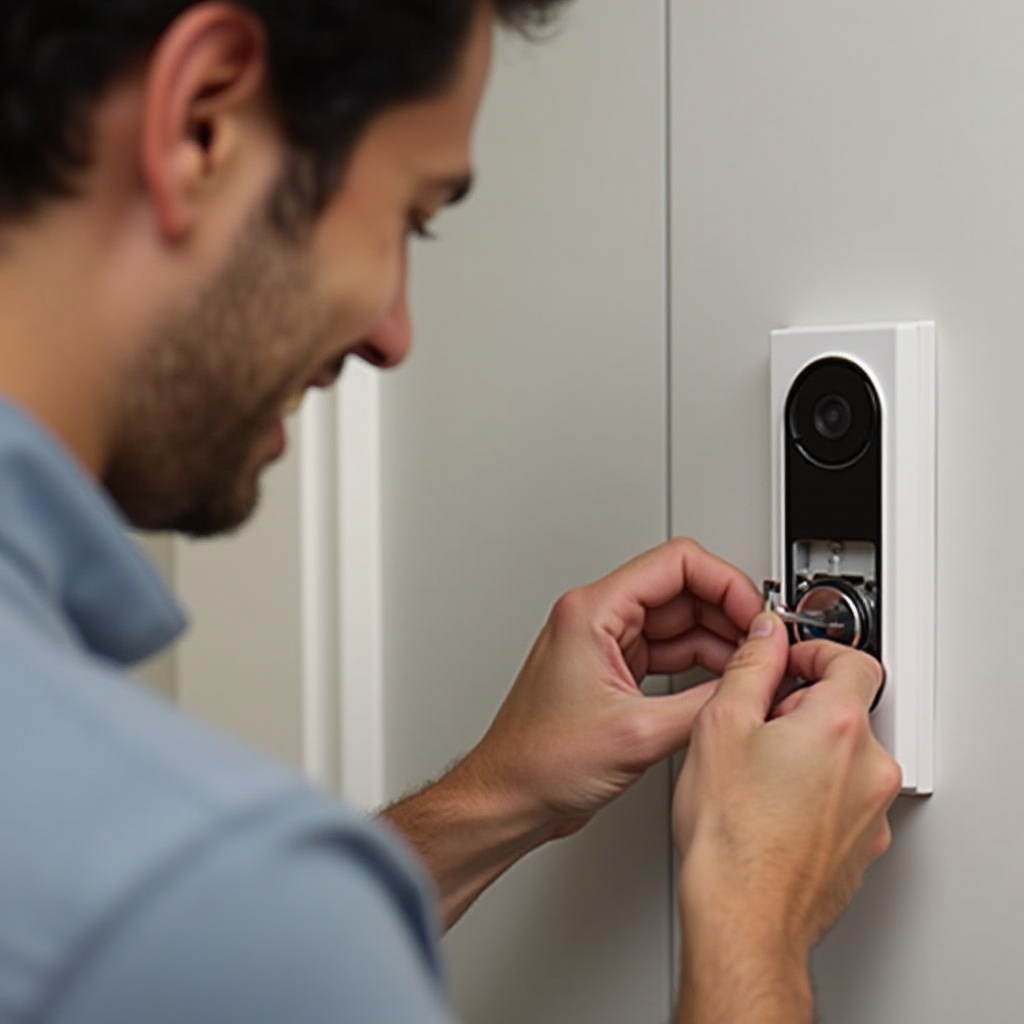
Mounting the Doorbell and Inserting the Battery
- Use screws to attach the mounting plate securely to the wall.
- Insert the battery into the doorbell, ensuring it clicks into place.
- Snap the doorbell securely onto the mounting plate.
Congratulations, you have now completed the physical setup. Let’s move on to the digital configuration.
Configuring Your Nest Doorbell
With the doorbell mounted, your next steps will involve connectivity and app setup, which will allow you to fully utilize its features.
Setting Up the Nest App
- Download the Nest App from your app store.
- Sign in using your Google account or create a new account if needed.
- Follow the guided setup on the app to add your Nest Doorbell.
Connecting the Doorbell to Wi-Fi
- Navigate to your doorbell device in the app.
- Select your home’s Wi-Fi network and enter the password.
- Confirm that the doorbell is successfully connected, displaying its live feed.
Once successfully configured, your Nest Doorbell is ready to serve as a crucial part of your home security system.
Troubleshooting Installation Issues
Occasionally, hurdles may arise, but most are easy to resolve with a few quick troubleshooting steps.
Common Battery Installation Problems
- Double-check that the battery is installed correctly.
- Ensure the battery is charged; recharge if necessary.
Resolving Connectivity and Syncing Errors
- Restart your Wi-Fi router to refresh the connection.
- Reboot your smartphone and Nest App.
- If persistent, move the doorbell closer to your Wi-Fi network.
These simple steps can resolve most common issues, allowing your device to function smoothly.
Maximizing the Benefits of Your Nest Doorbell
Your doorbell is set up, but getting the most out of your investment means exploring its full potential.
Enhancing Home Security
- Customize motion detection alerts via the app.
- Access past video recordings to monitor activity.
Integration with Other Smart Home Devices
- Nest Doorbell can connect with other Nest products like cameras and thermostats.
- Use voice commands with Google Assistant for smart control.
These integrations make your home more secure and bring convenience to your day-to-day life.
Conclusion
By following this guide, you have successfully installed your Nest Doorbell Battery, enhancing your home’s security and integrating into your smart home seamlessly. Enjoy the convenience and peace of mind that comes with this powerful addition to your home network.
Frequently Asked Questions
What should I do if my Nest Doorbell is not connecting to Wi-Fi?
Ensure your Wi-Fi credentials are correct. Reset your router and device to troubleshoot connectivity issues.
How often do I need to change or charge the battery?
Battery life typically lasts around six months, depending on usage. Monitor and recharge it through the Nest App as necessary.
Can the Nest Doorbell integrate with other brand smart home devices?
Yes, the Nest Doorbell can integrate with various platforms like Google Assistant for enhanced functionality.